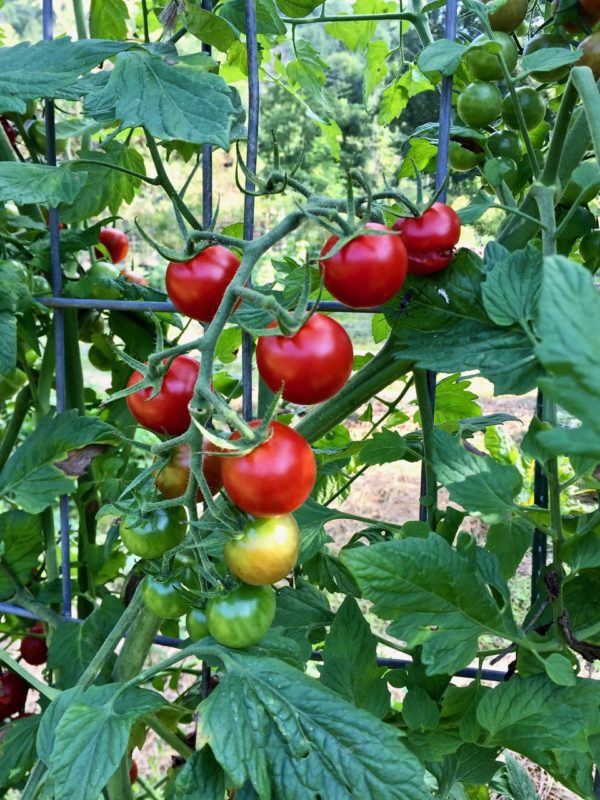
It’s easy to save your own tomato seeds. We’ll walk you through the three basic steps to do it at home. Since tomatoes are self-pollinating, your seeds will sprout up plants that bear the same kind of fruit that you harvested them from. That is, of course, unless you’re using GM or hybrid tomatoes. Read our other post to learn more about seed saving basics.


Step 1: Squeeze seeds out of tomato fruits
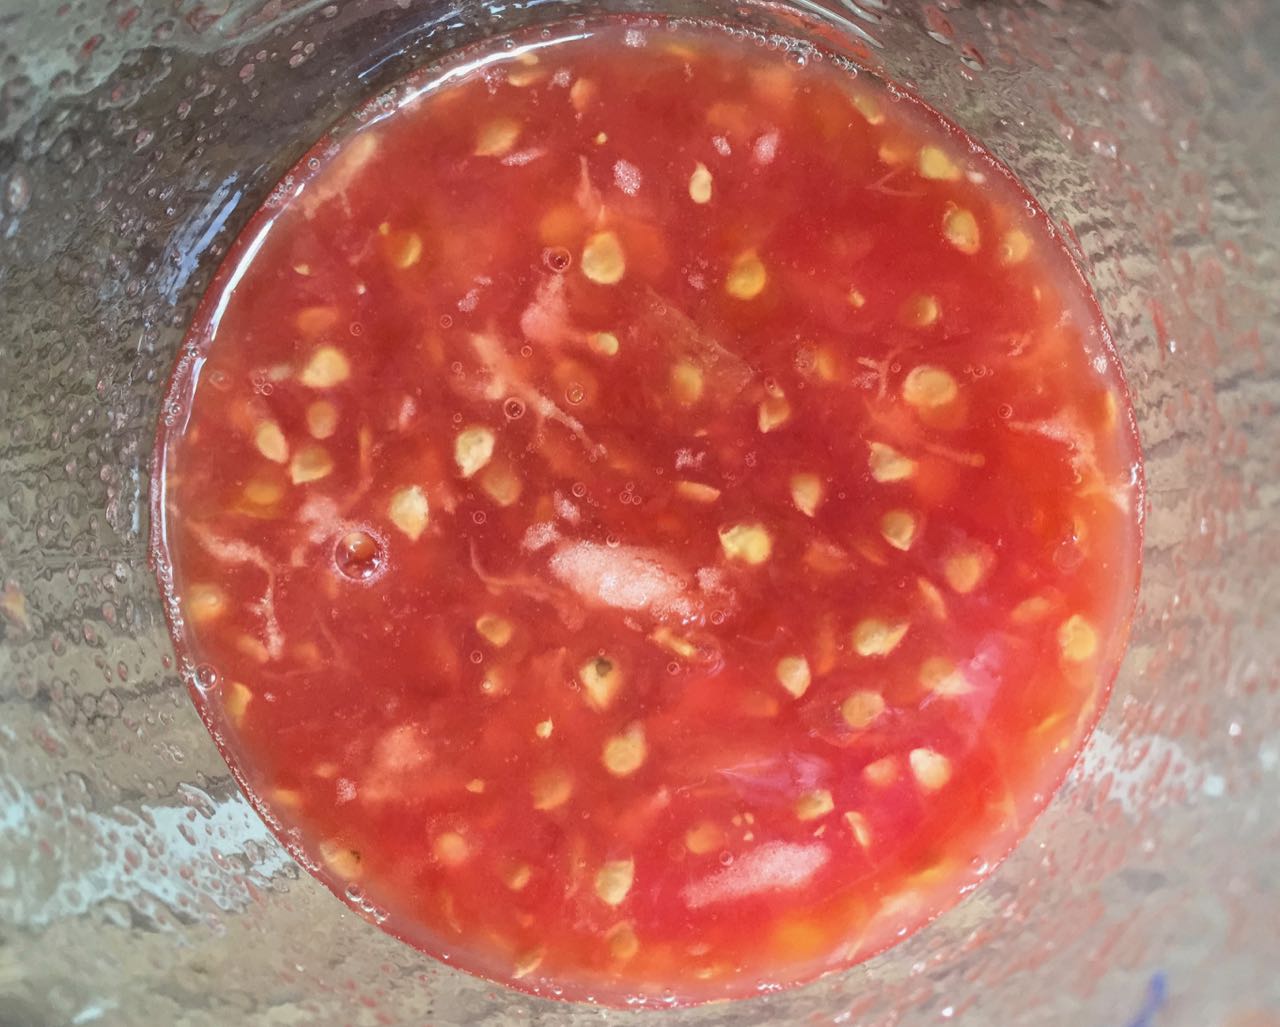
Only mature fruits contain mature seeds. Pick the ripest tomatoes you can for seed saving. Fortunately, you’ll be able to eat their flesh, too. Slice each tomato in half around their middle; then scoop or squeeze out the seeds in their mucilaginous coating and juices. For cherry tomatoes, just squeeze the whole fruit, and the seeds will squirt out.


Step 2: Ferment tomato seeds
Tomato seeds have a coating around them that inhibits sprouting. In order to prepare seeds for storage and use, you’ll need to remove the coating.
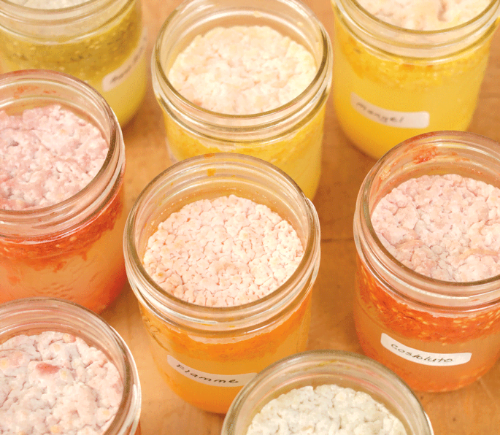
Naturally, when tomatoes fall from their vines, the flesh and juices rot, which breaks down the slime around the seeds. At home, you can imitate this process. Just put your slimy seeds and their juice into a bowl or jar and let them ferment for 2 to 3 days. Use a piece of screen or cheesecloth to keep fruit flies out. You may want to do this outside; it can get stinky. Also, be sure to label your jars/bowls so you can keep track of different varieties.


Image source: Seed Saver’s Exchange
Step 3: Winnow and dry
After two or three days, you’ll see a fuzzy white coating on the surface of the liquid. You may also notice that the seeds have fallen to the bottom. It’s time to rinse all that yucky water off your seeds and dry them for storage.
Water-winnowing is a method of cleaning seeds by rinsing them with water. To do this, simply add water to your jar or bowl. If you don’t have much extra room, transfer the whole slimy, stinky situation to a larger vessel. Slowly swish the water around, then carefully pour off the slime and liquid from the top, leaving the seeds behind. Do this several times, until the water looks clear and no longer smells.
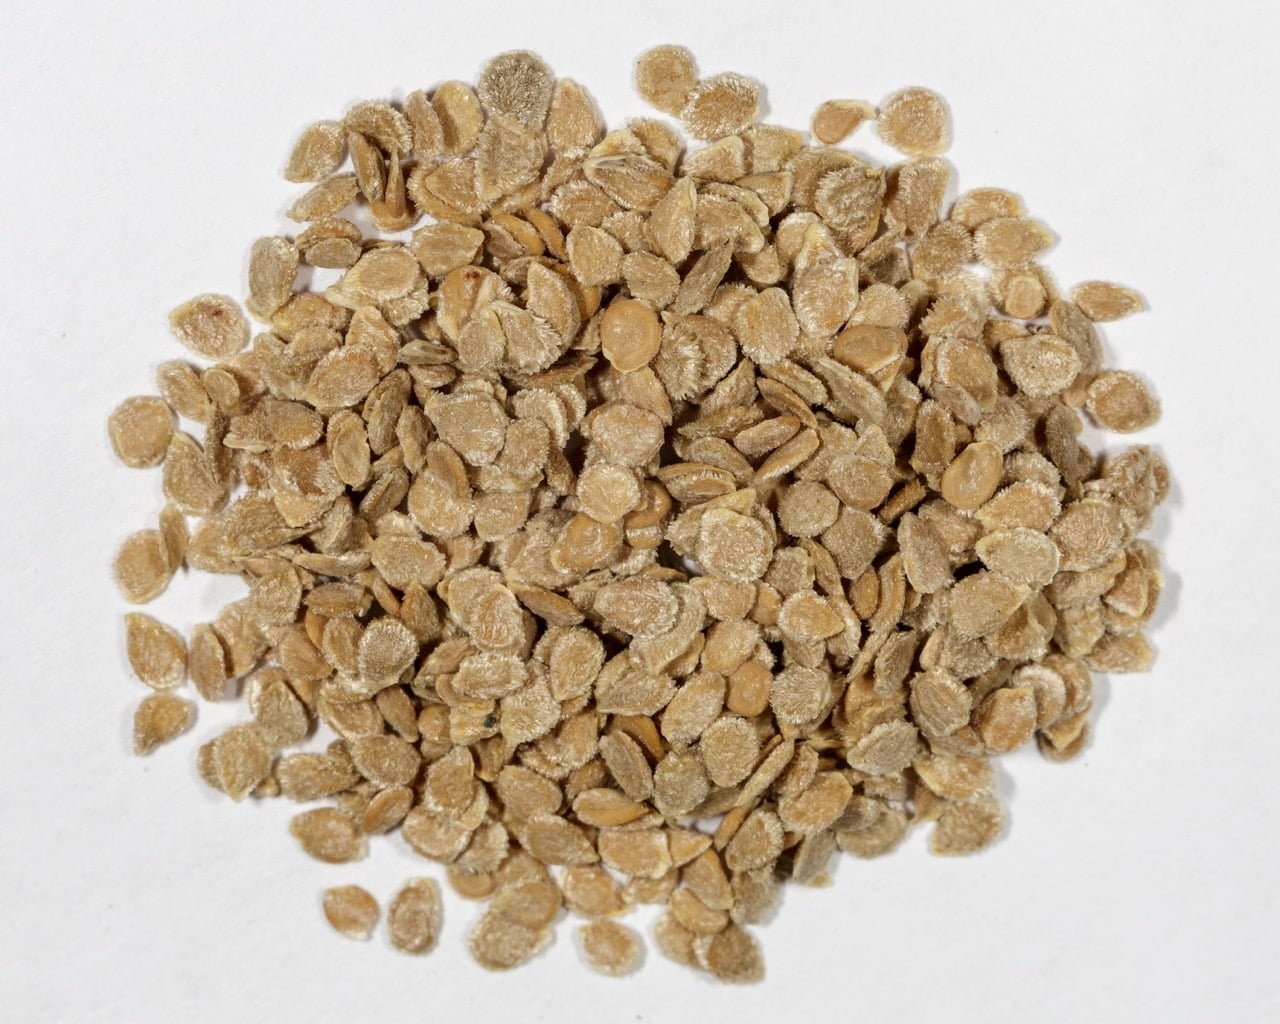
Next, pour the remaining liquid, with the seeds, through a fine mesh strainer. Then, spread the seeds out on a piece of parchment paper to dry; upside-down lids from quart-sized yogurt containers work well too, for drying. In moist climates, like our Southern mountains, use a dehydrator to make sure your tomato seeds dry before they mold.


Image source: NDG Botanicals
Store, use, and share your tomato seeds
Once they’re completely dry, store your tomato seeds in a sealed jar or bag until next spring when you’re ready to plant them. You’ll probably have more than you need, so share some with your friends and neighbors, too!

