What are sweet potato slips?
Sweet potato slips are the surprisingly diminutive tuber sprouts that grow into sprawling, productive sweet potato plants.
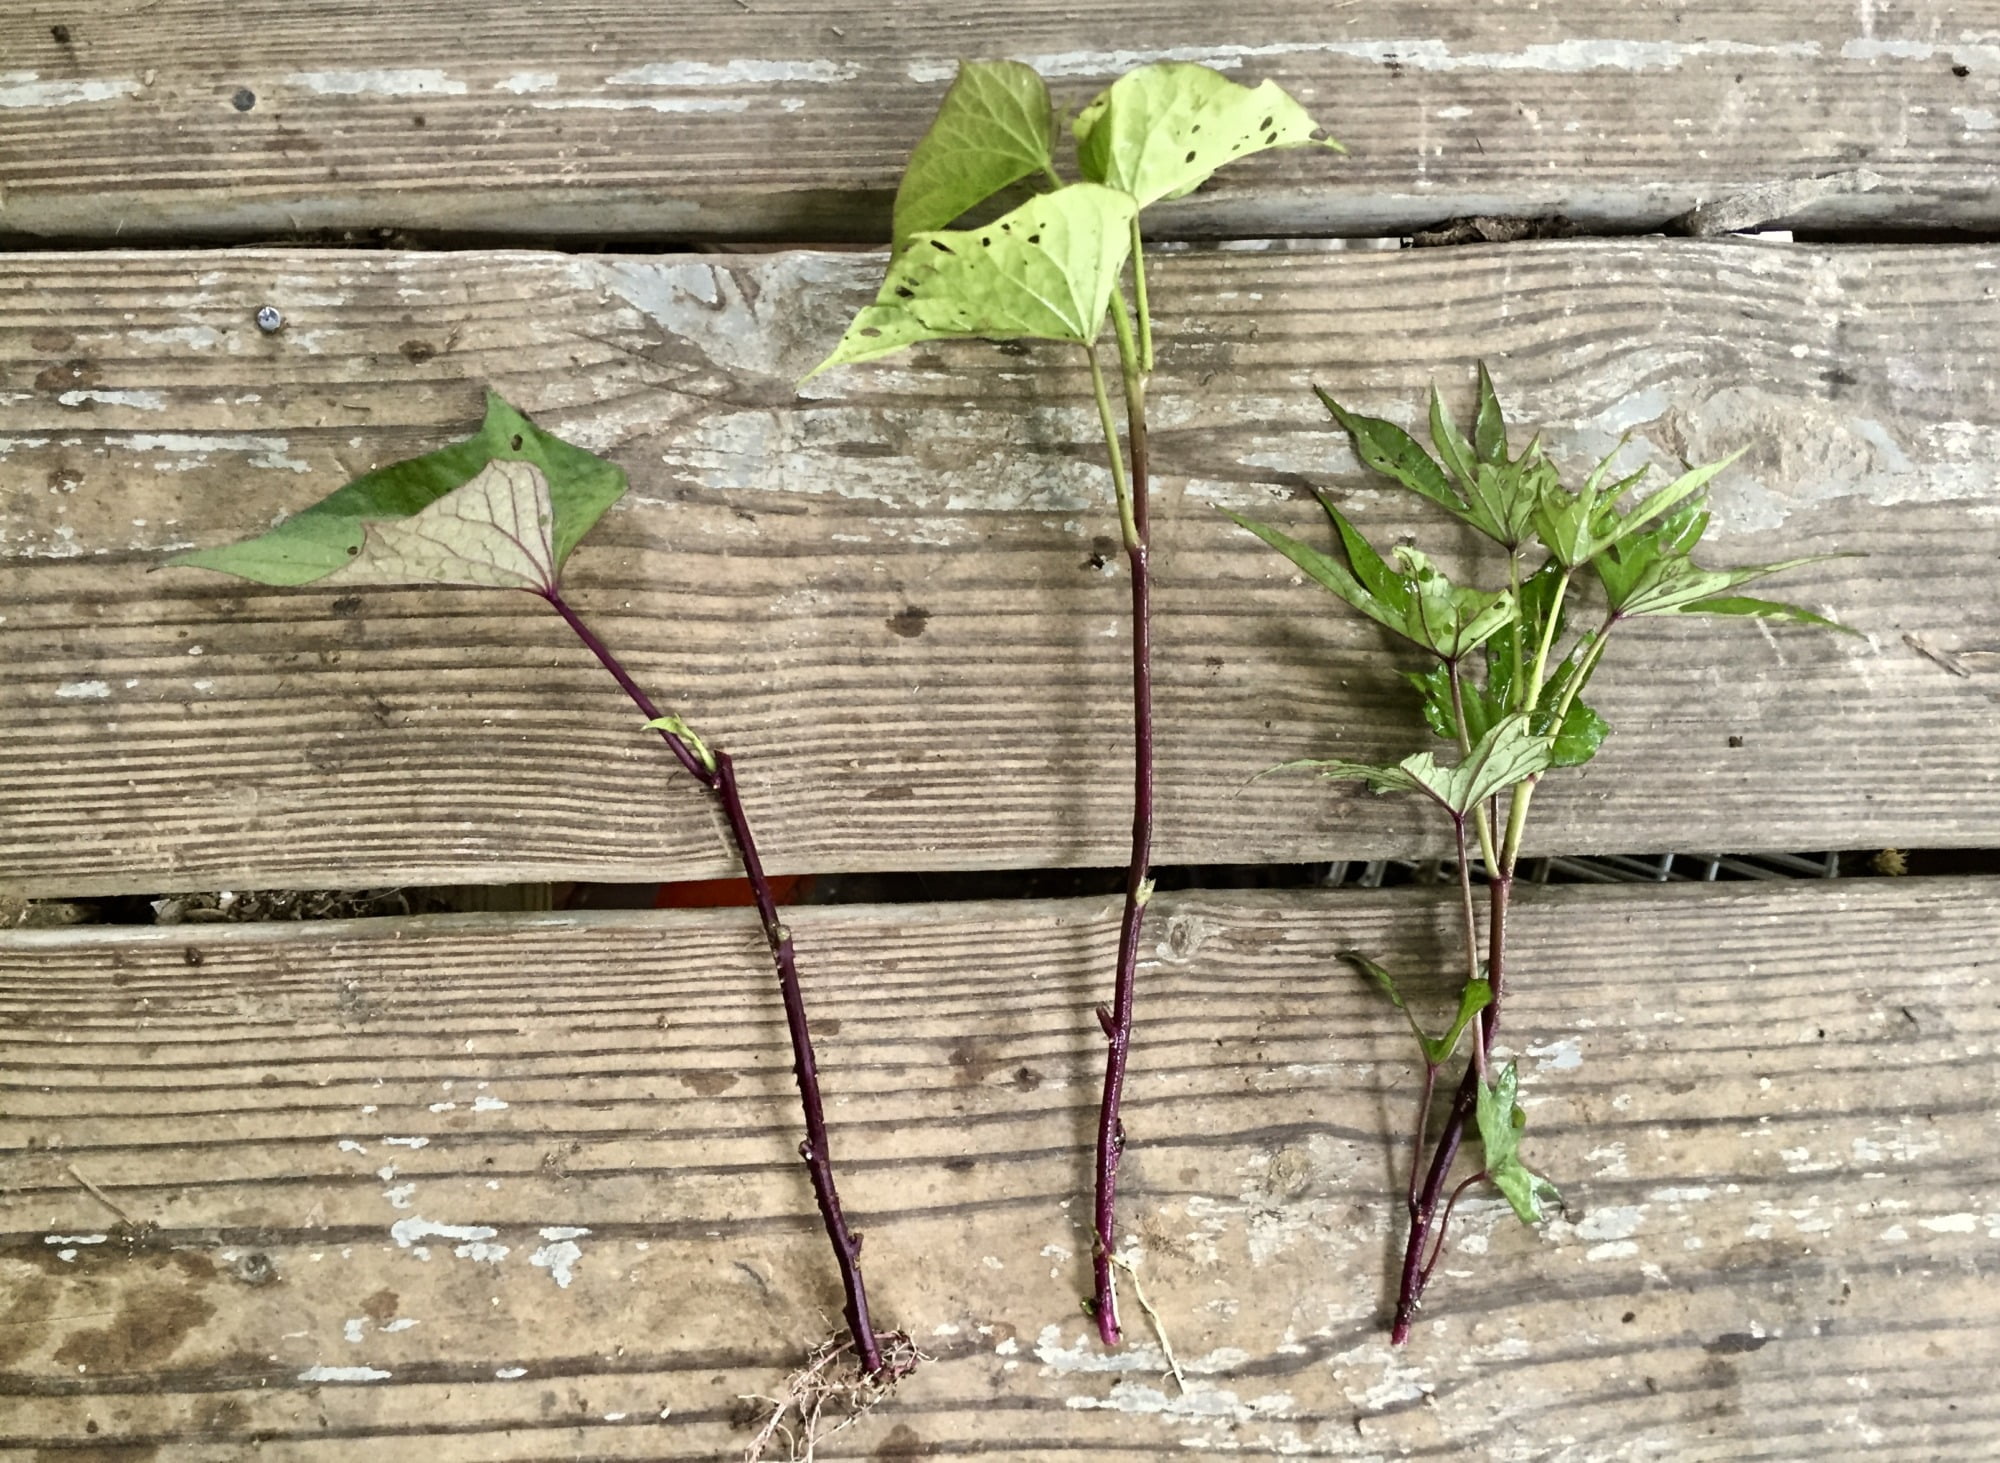
Unlike potato potatoes (a.k.a. Irish taters or white potatoes, Solanum tuberosum), you don’t just cut up sweet potatoes (Ipomoea batatas) and plant them in the ground to grow more of them. Sweet potato slips are baby vines that emerge from a stored sweet potato under the right conditions. When they’re big enough, you gently break the slips off of the mother tuber and plant them in the ground, like you would a baby tomato or kale plant. Roots will emerge from each of their nodes.
Growing your own sweet potato slips is fun and rewarding. It’s not too difficult and you can save money by doing it. Once you know how, you can maintain rare and heirloom varieties for yourself and your friends.
To get a video-based tutorial on growing sweet potato slips, plus a whole lot more, check out our Online Gardening School. 

Supplies for growing sweet potato slips
- Sweet potatoes
- Slipping medium (potting mix, sand, peat-moss, etc.)
- Containers for tubers and slipping medium (trays, tubs, planters, etc.)
- Heat source (heat mat, heater, greenhouse)
- Moisture
Sweet potatoes to use for growing slips
First and foremost, you will need sweet potatoes to grow your slips from. Ideally you grew some last year or know someone who did. You can grow sweet potato slips from tubers that you buy at the store, but occasionally these are treated with sprout-inhibitors to make them keep longer on the shelf. If so, your slip-growing efforts could be thwarted.
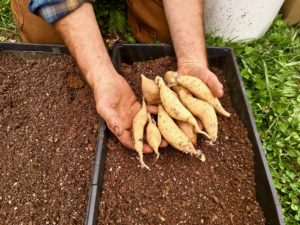
The ideal size of sweet potatoes for growing slips is not the same size that is ideal for eating. Smaller tubers, about 2 inches in diameter, are your superstar slippers. They will actually end up making more sweet potato slips (about 10-15 each) than larger tubers. Those are better off popped in the oven and then smothered with butter.
Moisture-holding “slipping medium”
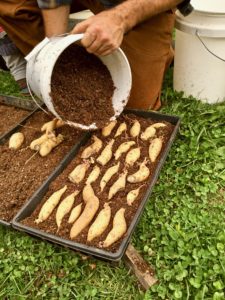

Next on the list of supplies is a slipping medium. This is a fancy term (so fancy I actually made it up) for whatever moisture-holding stuff you nestle the tubers into as they’re sprouting. Potting mix or peat moss work really well. Some people prefer to use sand because it’s cheap and super easy to pull the slips out of. A combo of sand and peat moss would probably work well, too.
You can grow sweet potato slips in soil, but there is a chance it will harbor fungus that can lead to your tubers rotting. In our experience, sawdust is not a great slipping medium because it dries out too quickly. We also don’t recommend growing sweet potato slips from tubers semi-submerged in water. They will sprout, but the likelihood of rot is higher, and it’s quite cumbersome and can be messy.
Containers for growing sweet potato slips
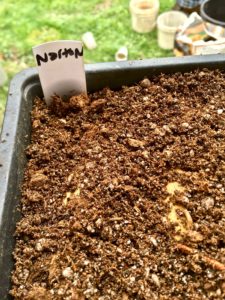

You’ll also need trays or tubs or some kind of shallow vessel to contain the tubers and slipping medium. Sweet potato slips reach down for moisture and up toward the sun. Containers that are 2-3 inches deep are ideal so they don’t have to reach far. You don’t need to completely cover your tubers with the slipping medium. It’s purpose is to keep them moist. Make sure whatever containers you use don’t have holes in the bottoms; you want the moisture to stay put.
Seedling trays without perforation work well. Shallow plastic totes will do, too. We’ve seen folks use disposable aluminum baking dishes with good success. Chances are you’ve got something lying around that will be perfect for growing your sweet potato slips.
Heat and moisture are the key ingredients
Heat and moisture tell the tubers to go ahead and start producing sweet potato slips. So, you’ll want to create a nice “tropical vacation” environment for them. The ideal temperature for growing sweet potato slips is 75-85 degrees Fahrenheit, and the ideal humidity is 90%. Once you’ve got your tubers nestled in their medium in their containers, put them in a place that will stay in that temperature range.
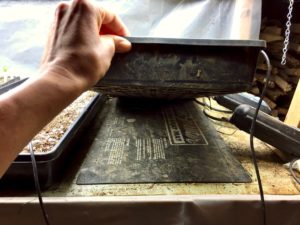
We use heat mats for this purpose, because we already have them on hand for starting seeds and we don’t yet have a greenhouse. If you have a greenhouse that stays that warm, lucky you! That’s the place to grow your sweet potato slips. In the past, we have created a little tent out of greenhouse plastic around our trays of slipping tubers and put a space heater inside it. If you’re just doing a small amount, placing the whole operation on top of your refrigerator might just be warm enough (try it and tell us how it goes!).
Now for the moisture. You can spritz your sweet potato slip operation several times a day if you’re the kind of person who will remember to do that. We usually create an envelope of greenhouse plastic around the trays to create a mini-greenhouse effect, then water them once or twice a day. In a proper greenhouse, you might be able to get away with once-a-day watering or less, depending on your greenhouse.
Planting your sweet potato slips
After about 4 weeks in the optimal conditions, your tubers will likely yield numerous sweet potato slips. Hooray! Plant propagation always feels like a miracle, even after years of doing it.
When the slips are around 6 inches long, they are ready to break off of the mother tuber and plant. You will see roots coming out of the bottom of the slips. Don’t worry too much about keeping these intact and attached. Sweet potato slips will sprout roots from any node. In fact, if some of your slips have gotten exceedingly long, you can cut them at a node and have a two-for-one.
Sweet potatoes continue to enjoy the “tropical vacation” atmosphere for their whole lives (they’re originally a tropical crop). Wait until it’s good and warm to plant them in the ground, and make sure they have plenty of water. Good luck, and splendid slipping to you!
To learn more about sweet potatoes and lots of other wonderful plants, join us for our Online Gardening School.
