Following are our top 6 tips for how to grow spinach successfully. We’ll get into more detail for each of them, but here’s an overview to start:
- Get good seeds
- Plant and grow spinach at the right temperature
- Direct sow spinach instead of transplanting it
- Weed and thin your spinach patch
- Fertilize spinach well
- Harvest spinach regularly
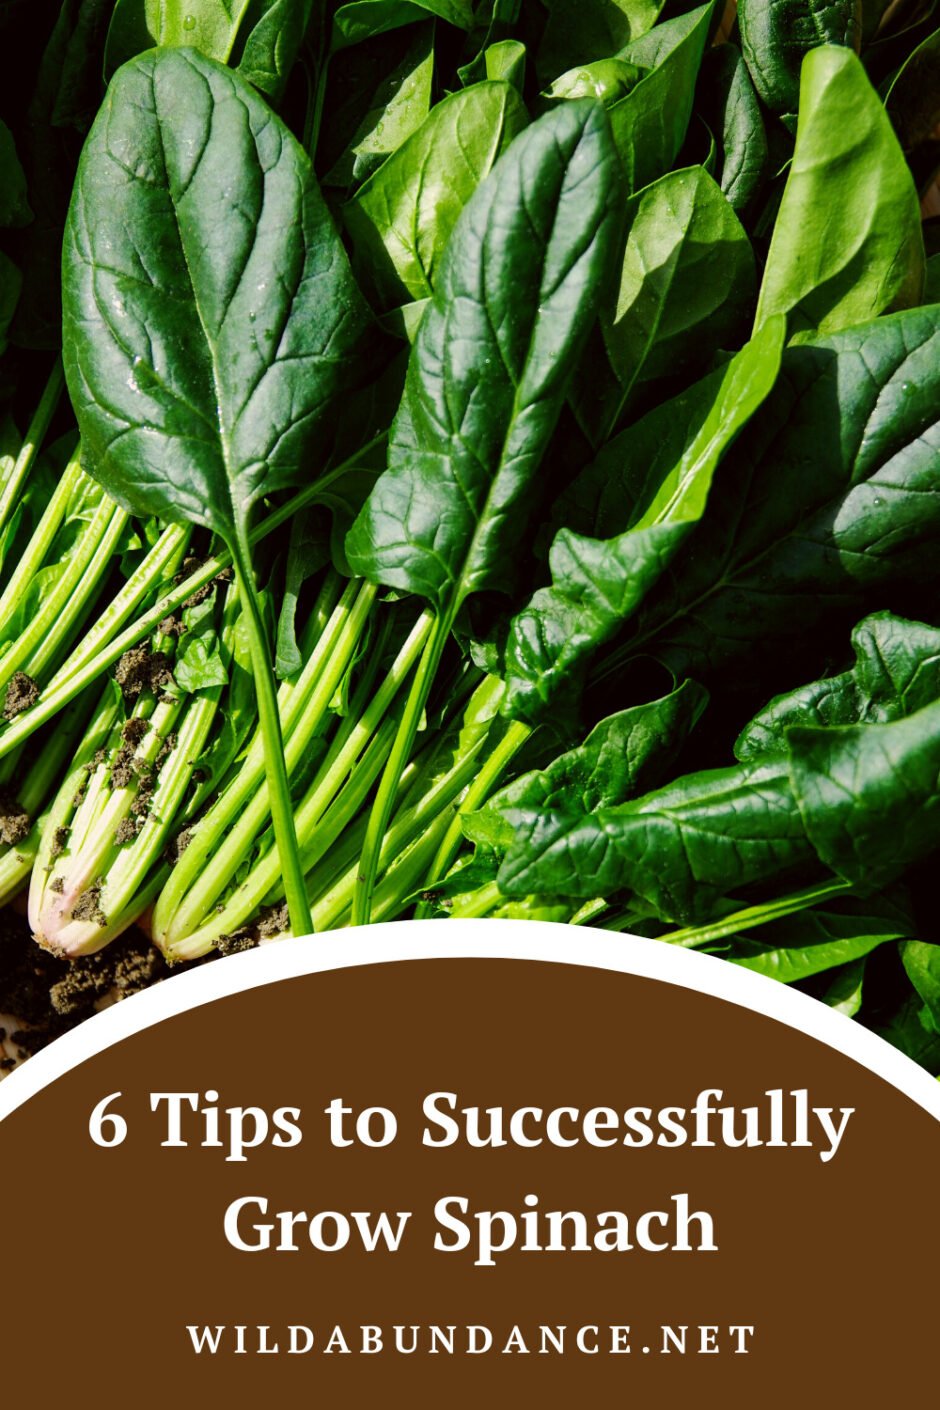
How to Grow Spinach for Beginners
If you’ve ever wondered when to plant spinach or how to grow spinach faster, the key lies in timing and technique. These spinach growing tips will help you get the most from your garden, even in tricky conditions.
Spinach growing can be tricky, but with these tips, you can harvest lots of tasty and nutritious greenery. Spinach can grow in many soil types, but needs regular watering and fairly high fertility in order to thrive. It’s also important to know that spinach is a cool weather crop; it’s best grown in spring and fall, and even over winter in some climates. Spinach can have a long harvest window, providing baby leaves for salads, along with more mature leaves for cooked dishes.
This video is an excerpt from one of our online gardening classes.
Steps to growing spinach
- Get good spinach seeds
- Prepare a garden bed or container with rich, fertile soil
- Sow spinach seeds about ½-1” apart when the soil temperature is cool
- Water regularly
- Keep weeds at bay
- Thin the spinach seedlings to 4”-6” apart
- Fertilize and mulch as needed
- Harvest outer leaves as they mature
- Snip off flower stalks once the spinach starts bolting, to extend harvest
- Prepare delicious spinach dishes and enjoy!
For detailed video lessons on every step of how to grow spinach (plus over 20 other vegetables), enroll in one of our online gardening classes.
Tip 1: Get good spinach seeds
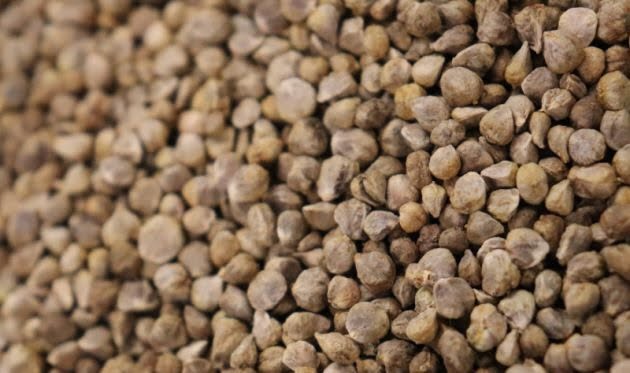

Image credit: Deer Creek Seeds
There are lots of spinach varieties to choose from, and lots of seed sources. Not only do they all taste slightly different, they thrive in different conditions as well. Some are better adapted for spring, while others can withstand temperatures as low as 0°F, and are suited for overwintering. Ask local farmers in your area about what might be best for you. An all-purpose favorite is called Bloomsdale, with several offshoots including Long Standing Bloomsdale (extremely hardy in high and low temperatures), and Abundant Bloomsdale (higher nutrition and disease resistance). Buy seeds from an independent and bio-regionally adapted seed company, if possible.
When to Plant Spinach for the Best Results
The best time to plant spinach depends on your local climate. In most temperate areas, spinach can be planted as soon as the ground can be worked in early spring. For a fall crop, plant seeds 6–8 weeks before your first expected frost. This gives the plants time to establish before cold weather sets in. Succession planting every couple of weeks can also extend your harvest season.
Tip 2: Spinach growing temperature – keep it cool
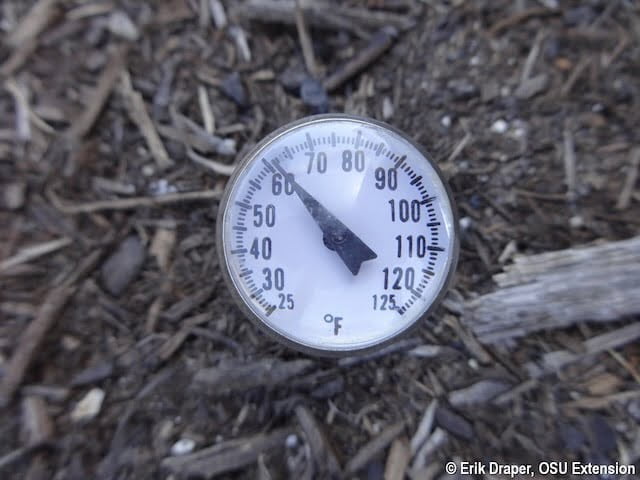

Image credit: Ohio State University
Knowing when to plant spinach can make all the difference in how well it performs. Spinach thrives in cool soil and air temperatures. Planting too late in spring may result in early bolting, while fall planting gives you a longer harvest and fewer pests.
Spinach requires cool temperatures to thrive. In fact, this plant likes to germinate at 60-75°F (15-24°C), but will also germinate at temperatures as low as 32°F (0°C), it just takes longer when it’s colder. Spinach bolts (shoots up a flower stalk) quickly as temperature rises, so it’s a good plant for early spring or fall in temperate climates. Indeed, spinach is happiest when the air temperatures hover between 50°F and 60°F.
In some places, like southern Appalachia, springs are glorious, but the heat comes quickly. And with the heat, spinach is likely to bolt. As a result of the growing flower stalk, leaf production comes to an end. Due to all of this, we encourage you to plant spinach as early as you can, once the ground can be worked. Spinach can also be planted in the fall, where winters are mild.
Tip 3: Direct sowing spinach instead of transplanting
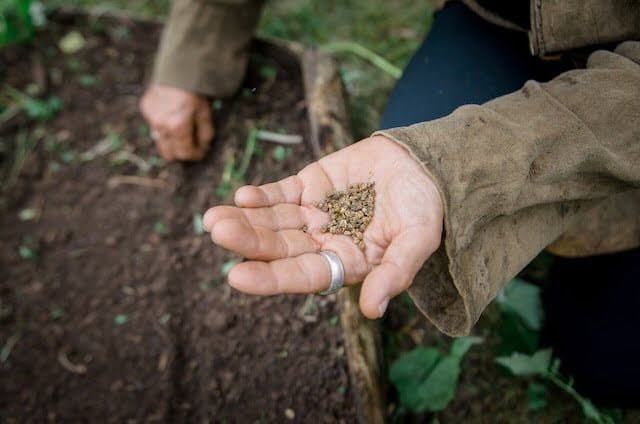

Spinach does best when it’s direct sown into a garden bed or container. While it can be transplanted, it’s sensitive to root disturbance and can bolt prematurely with this treatment. For these reasons, we recommend direct sowing if possible. To do this, sow a seed every ½-1”, at a depth of ½”. If you buy or grow spinach transplants, be extremely gentle with them when you transplant. Try to make sure that the soil you transplant them into is around the same temperature and pH as the soil in their pots.
Want to learn more? Enroll in our online & in-person gardening classes.
Tip 4: Weeding and thinning spinach
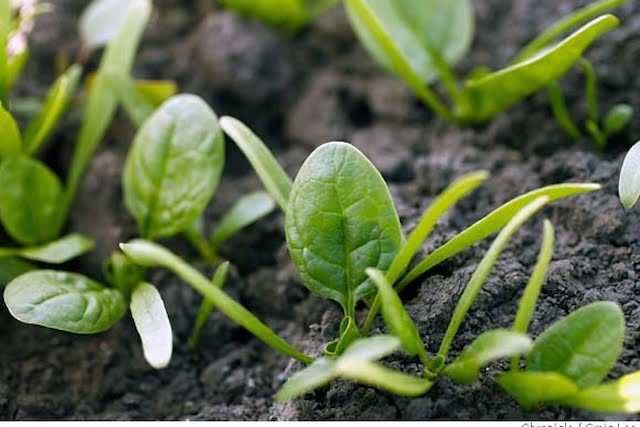

Image credit: SF Gate
Knowing when to thin spinach seedlings is key to maximizing both yield and plant health. After the first true leaves emerge, thin to about 1–2 inches. Later, thin again to 3–5 inches for robust mature plants.
Since it’s usually sown directly in the ground, spinach will need to compete with weeds as it gets established. Once the spinach plants emerge, it’s best to weed every week or so, in order to give the spinach it’s best shot at success. You can use a weeding tool like a stirrup hoe, or hand weed.
Another important step to help young spinach plants thrive is to thin them. What this means is to pull out some plants in order to leave enough room for the remaining ones to grow, without being crowded. To begin, you can thin young spinach plants to 1-2” apart, after their first true leaves appear. Then, a spacing of about 3-5” between mature plants is ideal. When you come through to do a second thinning, you can eat and enjoy what you uproot!
This video is an excerpt from one of our online gardening classes.
Tip 5: How to fertilize spinach?
Spinach is a crop that likes high fertility, especially nitrogen. In addition, this vegetable does best in soil that has a pH of 6.5-7.5 (near neutral). Aside from these factors, spinach can tolerate many soil types. Some ways to fertilize spinach are to add in compost, manure, or an organic fertilizer like blood meal, alfalfa meal, or feather meal when you’re preparing your bed or container. After the plants are up, you can feed them with liquid fertilizers like fish emulsion or diluted urine. One important key to dark green, rich-tasting spinach is enough nitrogen. Plus, don’t forget to water regularly!
Grow Your Gardening Skills!
Wildcrafted Apothecary Training

10 Spring Wild Foods That You Can Find Almost Anywhere

Seasonal Land-Based Living Handbook

Best Fertilizer for Spinach: Organic Options That Work
Which fertilizer is best for spinach? Organic options rich in nitrogen are ideal. Compost and blood meal promote lush growth, while diluted fish emulsion is great for ongoing feeding. Consistent soil nutrition is one of the best ways to grow spinach successfully.
Choosing the right fertilizer is key to fast, lush spinach growth. As mentioned above, organic nitrogen-rich amendments like composted manure, blood meal, and alfalfa meal give spinach what it needs to thrive. For in-season feeding, try fish emulsion or worm tea. If you’re wondering how to fertilize spinach most effectively, focus on early soil prep and consistent watering to keep nutrients available.
It’s also helpful to time your fertilizer applications based on the spinach growth stage. Apply a balanced slow-release fertilizer or compost at planting, then follow up with a nitrogen-rich top-dressing or liquid feed once the plants have developed 4–5 true leaves. Avoid over-fertilizing late in the season, as this can lead to overly lush leaves with reduced flavor or even encourage early bolting.
Tip 6: How to harvest spinach?
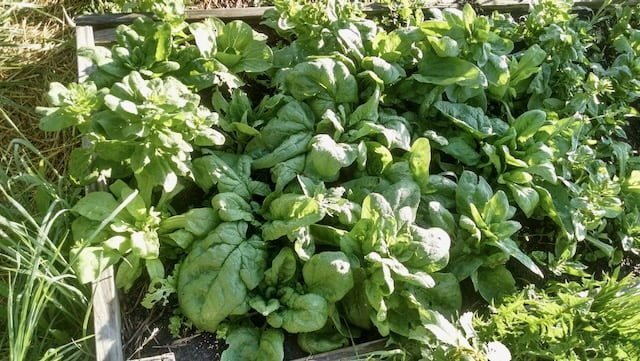

Harvesting spinach can happen over a long window, meaning you’ll get more than one harvest from each spinach plant. When a few leaf rosettes have formed, you can start pinching baby leaves from the outside. As the plants continue to grow, you can come in and harvest most outer leaves every week or so. Then, when the plants begin to bolt, sending up their flower stalks, you can cut or pinch off the whole stalk in order to stimulate more leaf growth. If you have a lot of spinach plants and need to harvest more quickly, you can cut entire plants at once. This works well, since the whole plant is edible, but it means you lose your chance at future harvest from that plant.
No matter how you harvest, make sure that you wash the spinach well. Sand is easily trapped in spinach leaves, and those particles can do a horrible number on teeth. Save a lot of pain and serious dental bills by washing spinach thoroughly!
How to Store Spinach After Harvest
Storing fresh spinach properly ensures it lasts longer and stays tasty. After harvesting, gently rinse the leaves and dry them thoroughly using a salad spinner or clean towel. Wrap the spinach in a paper towel and place it in a breathable produce bag or container in the refrigerator. It’s best used within a week, but you can also blanch and freeze spinach for long-term storage.
Want to learn more? Check out our online & in-person gardening classes.
Frequently Asked Questions About Growing Spinach
Spinach is a cool-season crop, so the best planting windows are early spring and late summer into early fall—basically, whenever you can give it consistently cool temperatures. In spring, aim to sow as soon as the soil can be worked, because spinach grows best before the days get long and warm. If you plant too late in spring, spinach often bolts (shoots up a flower stalk) quickly, which makes leaves smaller and more bitter. In fall, planting in late summer/early autumn lets spinach mature as temperatures cool; it can also tolerate light frosts, and in many climates it will keep producing well into the cold season. If your area has mild winters, spinach can even overwinter with protection and take off again in early spring.
Yes—spinach is one of the easier greens to grow in containers, and it can do well indoors if it gets enough light. Use a pot with good drainage and at least 6 inches of depth (deeper is even better for steady moisture). Outdoors, place containers where they’ll get 4–6 hours of sun, or morning sun with afternoon shade if your weather warms quickly. Indoors, a bright south-facing window can work, but many people get more reliable results using a simple grow light so plants don’t stretch and get leggy. Keep the soil evenly moist (not soggy), and feed lightly since container soil nutrients wash out faster. A bonus: containers make it easier to manage heat—when it warms up, you can move pots into a cooler spot to delay bolting.
Faster spinach growth comes down to cool temps, consistent moisture, and steady nitrogen. Start with fresh, high-quality seed and sow early so plants can grow during the cool part of the season—spinach slows down when it’s too hot or too cold. Keep soil consistently damp, especially during germination, because uneven watering can stall growth and make leaves tougher. Spinach also responds quickly to nitrogen, so mixing compost into the bed (or using a gentle nitrogen-rich fertilizer) can noticeably speed up leaf production. Thin seedlings early so plants aren’t competing for nutrients and light, and harvest outer leaves regularly once plants are established—frequent harvesting often encourages faster regrowth. If your spring is warming fast, a little afternoon shade can keep plants growing longer before they bolt.
Spinach is a leafy green, so it thrives with nitrogen-forward fertility and soil that holds moisture well. Compost is the best all-around foundation because it improves both nutrition and soil structure, but you can boost leafy growth with amendments like composted manure, blood meal, feather meal, or alfalfa meal. If you want a quicker response, a liquid feed like fish emulsion or another organic liquid fertilizer can give spinach a noticeable “green-up” within a week. The main goal is steady, moderate feeding—too much fertilizer at once can stress plants or cause overly soft growth. Also, spinach prefers a slightly neutral soil pH; if your soil is very acidic, adjusting with lime (based on a soil test) can improve nutrient availability and overall vigor.
Thin spinach once seedlings have their first true leaves (the second set of leaves that look like mini spinach leaves, not the smooth seed leaves). At that stage, you can gently remove extras without disturbing neighboring roots too much. A practical approach is thinning in two rounds: first, space seedlings about 1–2 inches apart so you can start harvesting baby greens early. Then thin again as plants size up, leaving 3–5 inches between plants for full-sized leaves and healthier airflow. Instead of tossing thinnings, you can eat them as microgreens or baby greens—just snip them at the soil line with scissors to avoid pulling and disrupting the plants you’re keeping. Proper thinning makes a big difference in growth speed, leaf size, and how long spinach stays productive before bolting.
Ready to Learn the Best Way to Grow Spinach & More?
If you’re eager to take your gardening skills to the next level, our online & in-person gardening classes are packed with expert instruction, seasonal tips, and confidence-boosting support.

